Dashboard → Your App → Credentials (e.g. us, eu, in)
You also need:
Android Studio installed
An Android emulator or physical device running Android 7.0 (API 24) or higher
Java 8 or higher
Gradle plugin 4.0.1 or later
Auth Key is for development only. In production, generate Auth Tokens server-side via the REST API and use loginWithAuthToken(). Never ship Auth Keys in client code.
Now, in your app-level build.gradle.kts file, add the dependency using libs from Version Catalogs:
build.gradle.kts
Report incorrect code
Copy
Ask AI
dependencies { implementation(libs.cometchat.ui.kit) // (Optional) Include if using voice/video calling features implementation(libs.cometchat.calls.sdk)}
Open the app level build.gradle file and add the following dependency:
build.gradle
Report incorrect code
Copy
Ask AI
dependencies { // CometChat UIKit implementation 'com.cometchat:chat-uikit-android:5.2.9' // (Optional) Include this if your app uses voice/video calling features implementation 'com.cometchat:calls-sdk-android:4.3.3'}
To authenticate a user, you need a UID. You can either create users on the CometChat Dashboard, via the SDK method, or through the REST API.For development, use one of the pre-created test UIDs:cometchat-uid-1 · cometchat-uid-2 · cometchat-uid-3 · cometchat-uid-4 · cometchat-uid-5
Kotlin
Java
MainActivity.kt
Report incorrect code
Copy
Ask AI
import android.os.Bundleimport android.util.Logimport androidx.activity.ComponentActivityimport androidx.activity.enableEdgeToEdgeimport com.cometchat.chat.core.CometChatimport com.cometchat.chat.exceptions.CometChatExceptionimport com.cometchat.chat.models.Userimport com.cometchat.chatuikit.shared.cometchatuikit.CometChatUIKitimport com.cometchat.chatuikit.shared.cometchatuikit.UIKitSettingsclass MainActivity : ComponentActivity() { private val TAG = "MainActivity" private val appID = "APP_ID" // Replace with your App ID private val region = "REGION" // Replace with your App Region private val authKey = "AUTH_KEY" // Replace with your Auth Key or leave blank if you are authenticating using Auth Token private val uiKitSettings = UIKitSettings.UIKitSettingsBuilder() .setRegion(region) .setAppId(appID) .setAuthKey(authKey) .subscribePresenceForAllUsers() .build() override fun onCreate(savedInstanceState: Bundle?) { super.onCreate(savedInstanceState) enableEdgeToEdge() CometChatUIKit.init(this, uiKitSettings, object : CometChat.CallbackListener<String?>() { override fun onSuccess(successString: String?) { Log.d(TAG, "Initialization completed successfully") loginUser() } override fun onError(e: CometChatException?) {} }) } private fun loginUser() { CometChatUIKit.login("cometchat-uid-1", object : CometChat.CallbackListener<User>() { override fun onSuccess(user: User) { // Option 1: Launch One-to-One or Group Chat Screen // val intent = Intent(this@MainActivity, MessageActivity::class.java) // intent.putExtra("uid", "cometchat-uid-1") // startActivity(intent) // Option 2: Launch Conversation List + Message View (Split-Screen Style) // startActivity(Intent(this@MainActivity, ConversationActivity::class.java)) // Option 3: Launch Tab-Based Chat Experience (Chats, Calls, Users, Groups) // startActivity(Intent(this@MainActivity, TabbedActivity::class.java)) } override fun onError(e: CometChatException) { // Handle login failure (e.g. show error message or retry) Log.e("Login", "Login failed: ${e.message}") } }) }}
MainActivity.java
Report incorrect code
Copy
Ask AI
import android.content.Intent;import android.os.Bundle;import android.util.Log;import androidx.activity.ComponentActivity;import com.cometchat.chat.core.CometChat;import com.cometchat.chat.exceptions.CometChatException;import com.cometchat.chat.models.User;import com.cometchat.chatuikit.shared.cometchatuikit.CometChatUIKit;import com.cometchat.chatuikit.shared.cometchatuikit.UIKitSettings;public class MainActivity extends ComponentActivity { private static final String TAG = "MainActivity"; private final String appID = "APP_ID"; // Replace with your App ID private final String region = "REGION"; // Replace with your App Region private final String authKey = "AUTH_KEY"; // Replace with your Auth Key @Override protected void onCreate(Bundle savedInstanceState) { super.onCreate(savedInstanceState); getWindow().setDecorFitsSystemWindows(false); // Equivalent to enableEdgeToEdge() UIKitSettings uiKitSettings = new UIKitSettings.UIKitSettingsBuilder() .setRegion(region) .setAppId(appID) .setAuthKey(authKey) .subscribePresenceForAllUsers() .build(); CometChatUIKit.init(this, uiKitSettings, new CometChat.CallbackListener<String>() { @Override public void onSuccess(String success) { Log.d(TAG, "Initialization completed successfully"); loginUser(); } @Override public void onError(CometChatException e) { Log.e(TAG, "Initialization failed: " + (e != null ? e.getMessage() : "Unknown error")); } }); } private void loginUser() { CometChatUIKit.login("cometchat-uid-1", new CometChat.CallbackListener<User>() { @Override public void onSuccess(User user) { Log.d(TAG, "Login successful for user: " + user.getUid()); // Option 1: Launch One-to-One or Group Chat Screen // Intent intent = new Intent(MainActivity.this, MessageActivity.class); // intent.putExtra("uid", "cometchat-uid-1"); // startActivity(intent); // Option 2: Launch Conversation List + Message View // startActivity(new Intent(MainActivity.this, ConversationActivity.class)); // Option 3: Launch Tab-Based Chat Experience (Chats, Calls, Users, Groups) // startActivity(new Intent(MainActivity.this, TabbedActivity.class)); } @Override public void onError(CometChatException e) { Log.e("Login", "Login failed: " + (e != null ? e.getMessage() : "Unknown error")); } }); }}
init() must resolve before you call login(). If you call login() before init completes, it will fail silently.
For production, use loginWithAuthToken() instead of Auth Key. Generate tokens server-side via the REST API.
To customize component styling across your application, set up the CometChat Theme.Use the CometChatTheme.DayNight style, which is built on Theme.MaterialComponents.DayNight.NoActionBar.
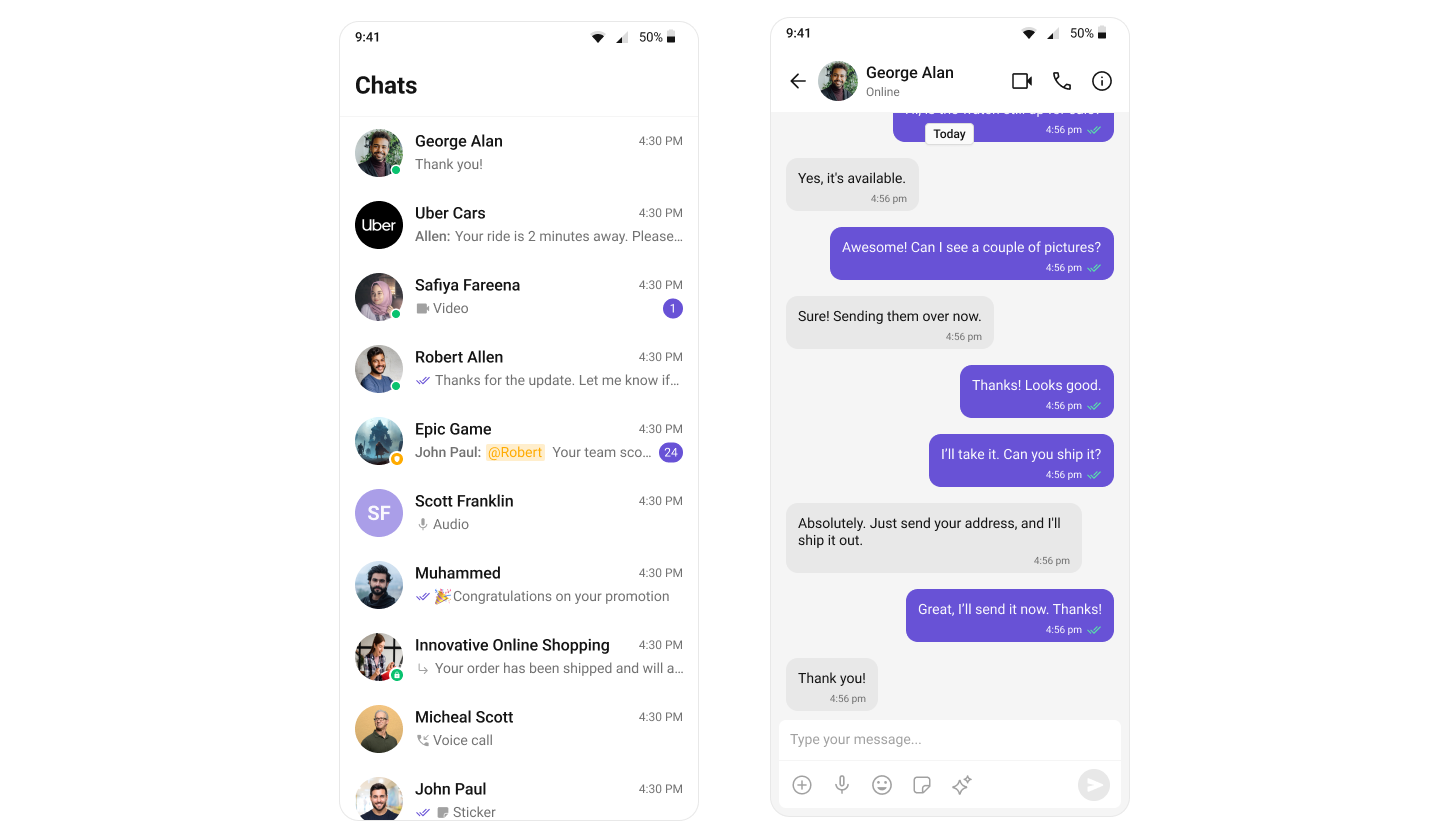
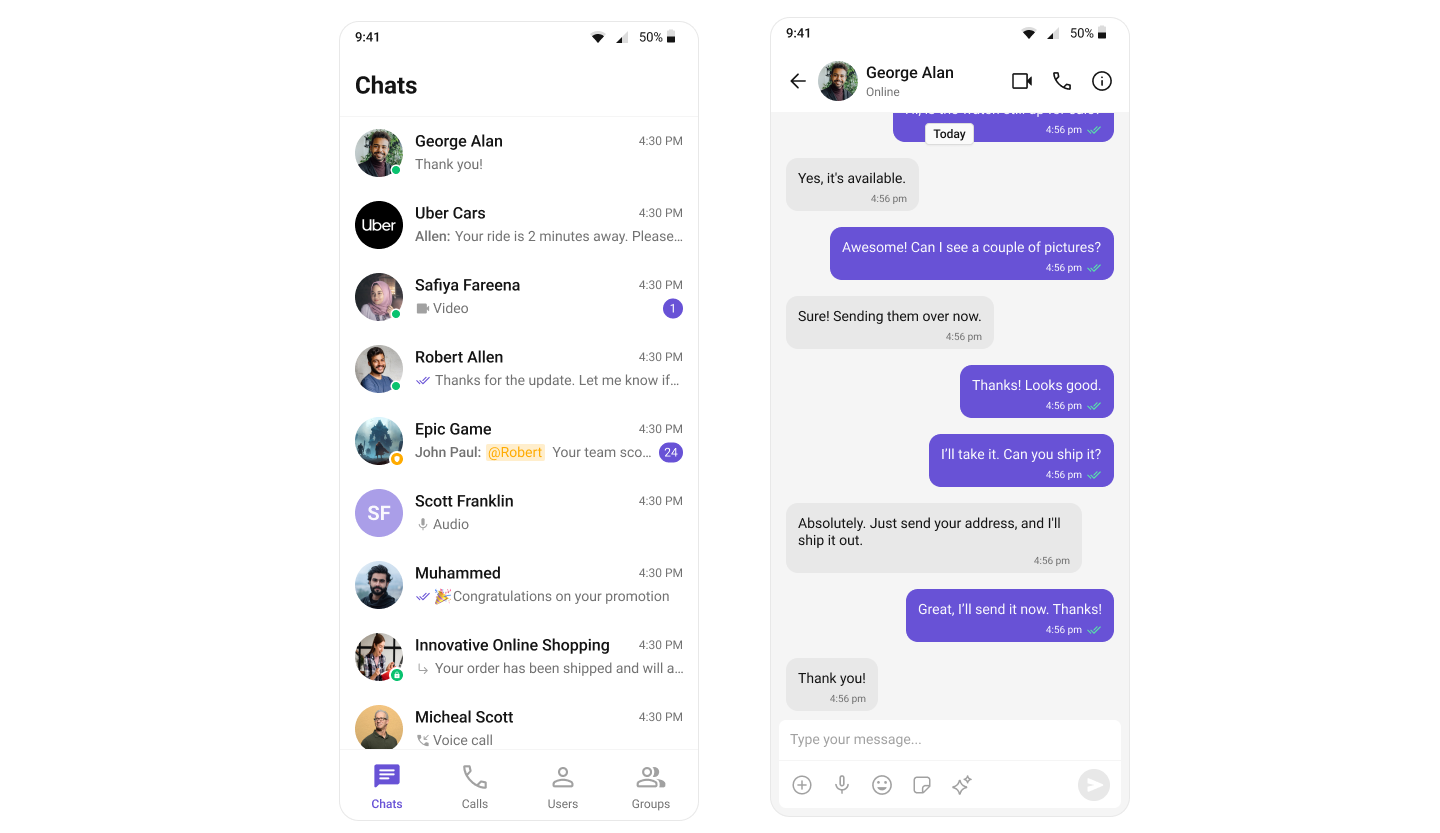
Single-screen layout for mobile — tap a conversation to open the message view. Handles one-to-one and group conversations with real-time updates and session persistence.